Projects
Overview
Arcweave being a cloud app, you just need your browser and internet access to work on your projects.
Example projects
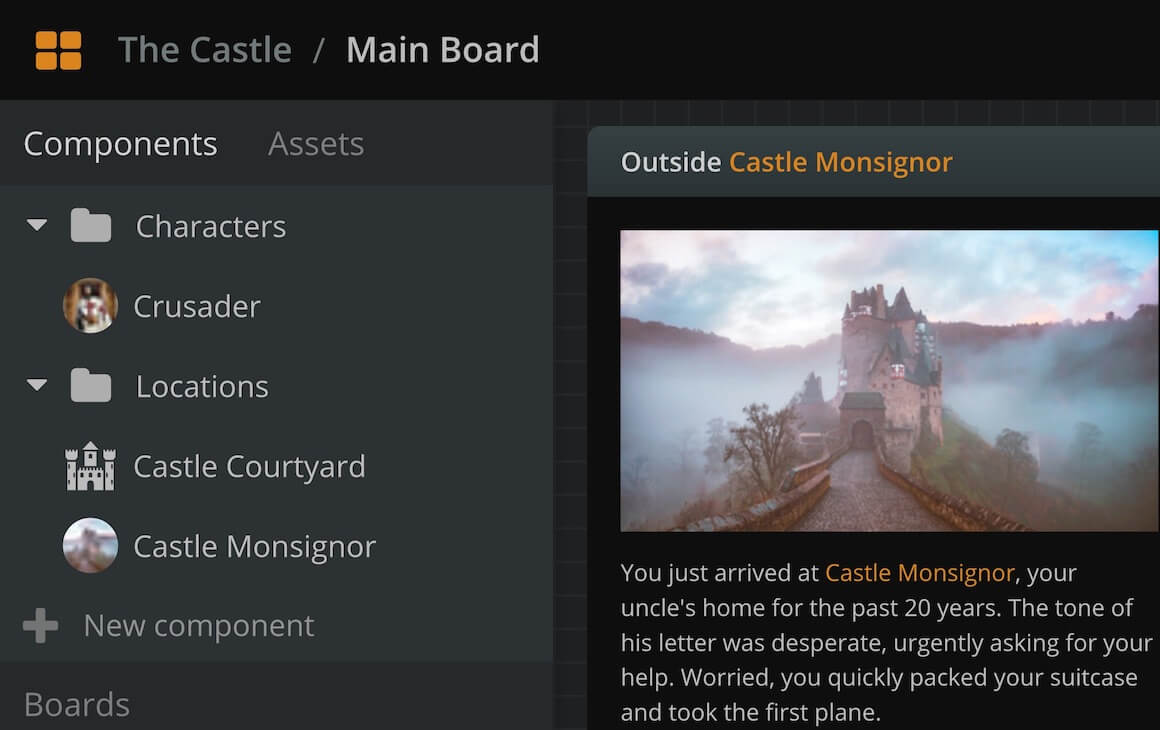
When you first create your account, you start with a Basic workspace and an example project—called The Castle—automatically created and opened for you.
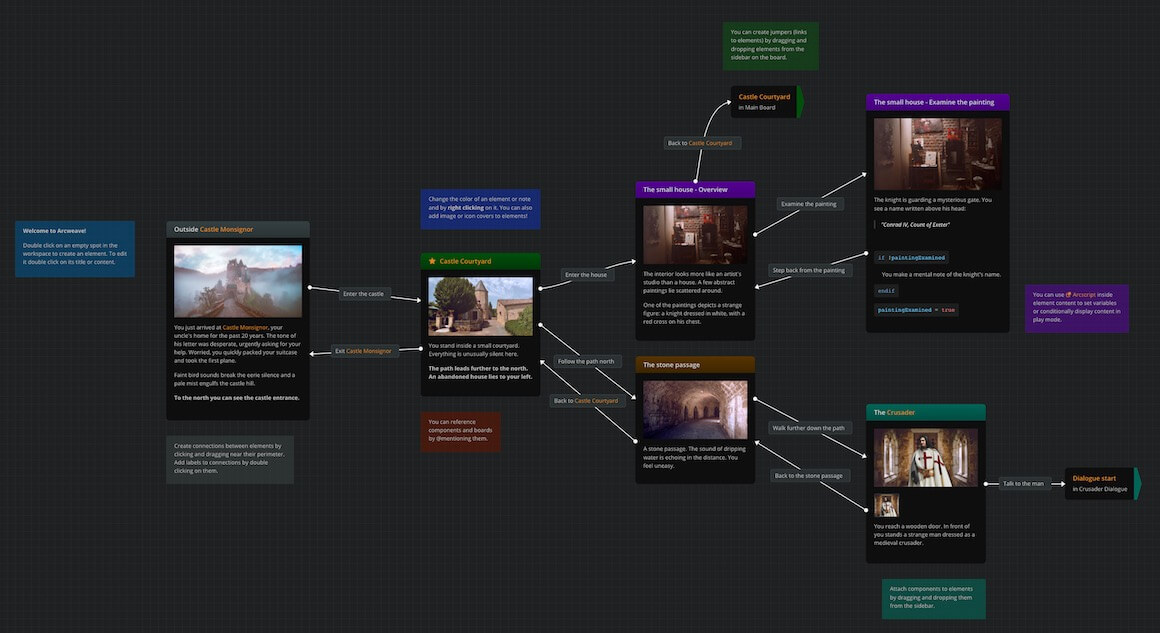
You have the liberty and our blessings to modify, experiment with, and learn from it—or delete it altogether.
You can easily recreate The Castle, as well as other project templates.
Projects list
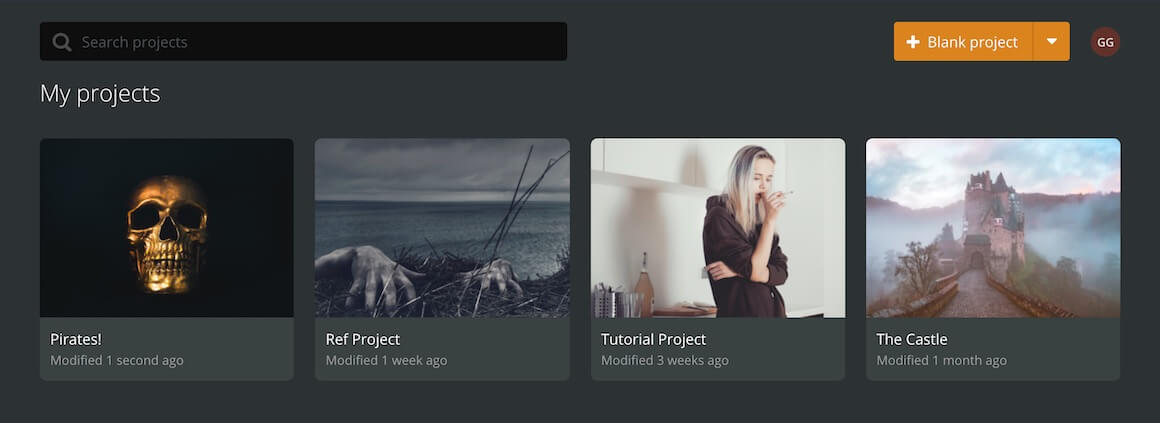
To see your workspace's projects, exit The Castle and go to your workspace's Projects section.
To do that, click on the My Projects icon. It's the one with the four squares, at the top left corner, right next to your current project's name.
Opening an existing project
On the Projects section, you can open a project by clicking on its thumbnail.
{success} To delete, duplicate, and rename a project, open its thumbnail's menu.
Creating a new project
To create a new project:
- Go to the Projects section of your workspace.
- Click on the + New project button—that's the orange button at the top right of your browser window.
- Choose Blank Project from the templates menu.
![]()
Arcweave will create and open a new project for you.
{info} A Basic workspace can have up to 3 projects.
Recreating the project templates
Arcweave comes with a number of project templates that you can recreate while learning the ropes. To recreate any of them:
- Go to the Projects section of your workspace.
- Click on the + New project button.
- Choose a project template from the menu.
![]()
{success} Try the Game Engine Example template, to see how Arcweave integrates with the most popular game engines.
Project menu
To delete, duplicate, or rename a project, as well as assign it a cover image, you need to open its thumbnail menu:
- Hover above a project's thumbnail.
- Click on its ••• icon, at the thumbnail's upper right corner.
Or:
- Right-click the thumbnail itself.
Deleting a project
To delete a project:
- Go to your workspace's Projects section.
Then:
- Hover over the project's thumbnail.
- Click on the ••• icon, to open the project's menu.
- Select Delete.
Or:
- Right-click the project's thumbnail.
- Select Delete from the menu.
{danger} A deleted project is permanently lost and cannot be recovered! Please make sure you are certain before pressing that red button! 💥
Duplicating a project
Pro and Team workspaces offer the option to duplicate a project:
- Go to your the Projects section of your Pro or Team workspace.
Then:
- Hover over the project's thumbnail.
- Click on the ••• icon, to open the project's menu.
- Select Duplicate.
Or:
- Right-clickt he project's thumbnail.
- Select Duplicate from the menu.
Renaming a project
You can rename a project either while it's open or from inside the Projects section.
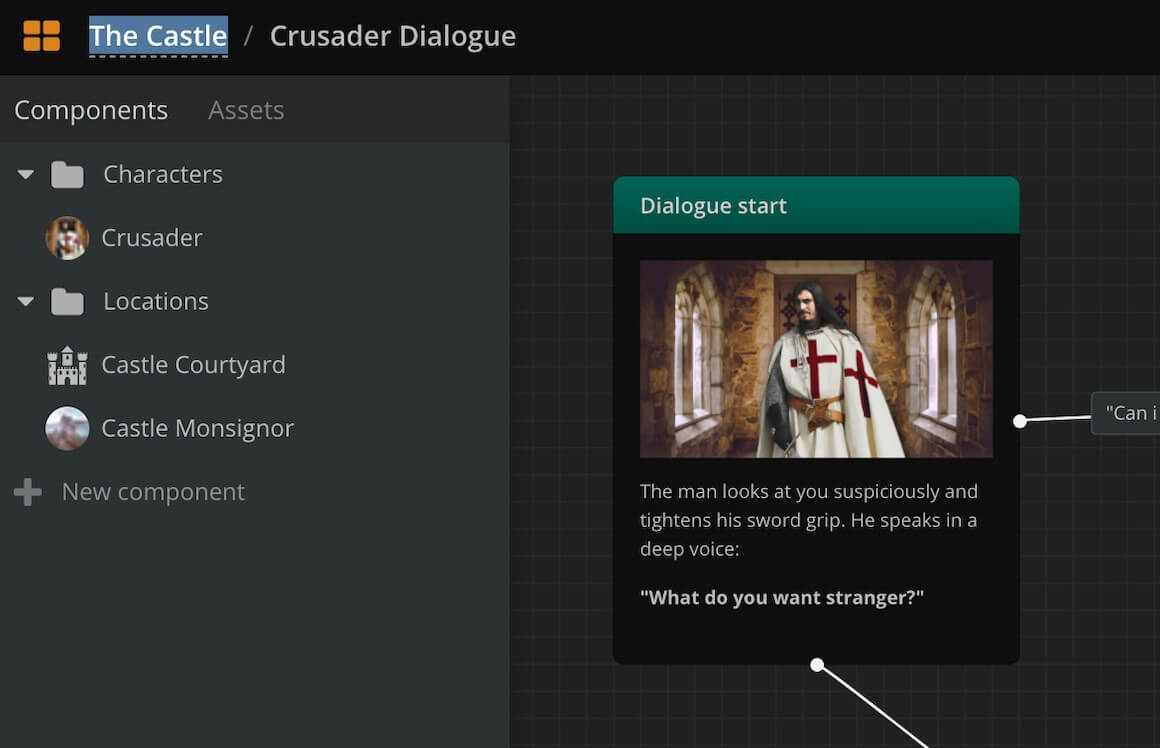
To rename an open project, click on the project name at the top left corner of your browser's window.
To rename a project from the Projects section:
- Hover over the project's thumbnail.
- Click on the ••• icon, to open the project's menu.
- Select Rename.
Or:
- Right-click the project's thumbnail.
- Select Rename from the menu.
Project cover
You can add, change, or delete a project's cover image from the project's menu, on your workspace's Projects section.
Adding a cover
To add a cover image to a project:
- Go to your workspace's Projects section.
Then:
- Hover over the project's thumbnail.
- Click on the ••• icon, to open the project menu.
Or:
- Right-click the thumbnail.
Then:
- Select Upload cover....
- Choose an image file.
Changing a cover
To change the cover image of a project:
- Go to your workspace's Projects section.
Then:
- Hover over the project's thumbnail.
- Click on the ••• icon, to open the project menu.
Or:
- Right-click the thumbnail.
Then:
- Select Change cover....
- Choose an image file.
Removing a cover
Finally, to remove a project's cover image:
- Go to your workspace's Projects section.
Then:
- Hover over the project's thumbnail.
- Click on the ••• icon, to open the project menu.
Or:
- Right-click the thumbnail.
Then:
- Select Remove cover.