Jumpers
- Overview
- Examples
- Creating jumpers
- Assigning a jumper target
- Changing a jumper target
- Deleting jumpers
Overview
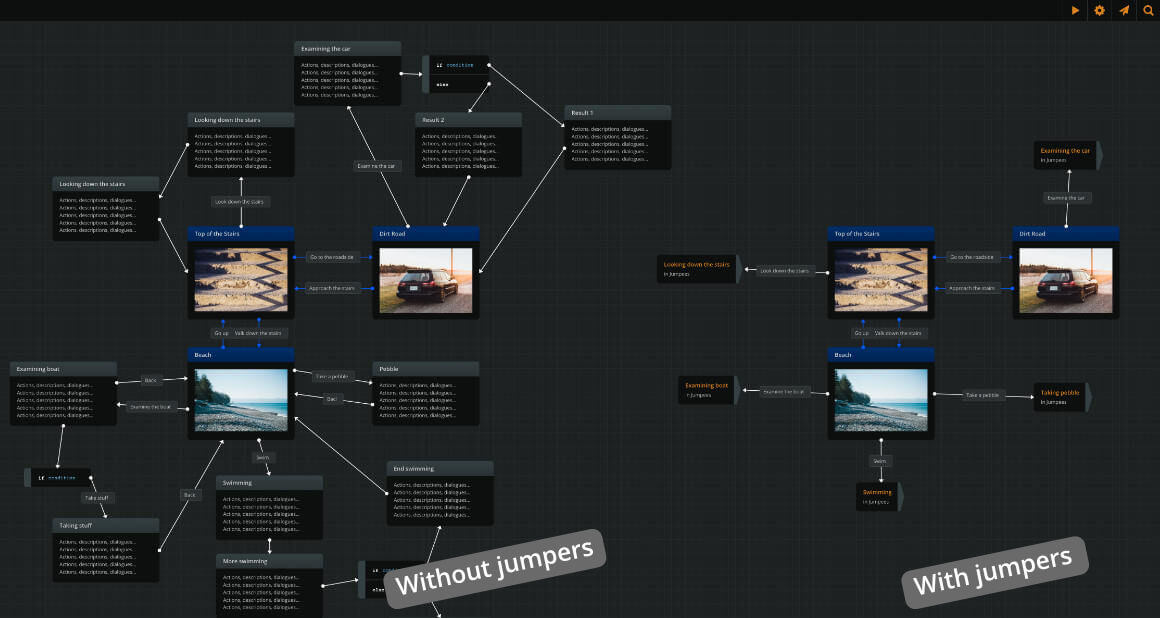
A jumper represents a link to an element of the same project. Jumpers allow the connection of elements or branches with other elements that are either far away or in a different boards.
The element a jumper links to is called target element.
Examples
Jumpers offer great flexibility and help with workflow optimisation, as they allow breaking down a project in multiple boards. For example:
- Break down your plot in sequences or scenes, placing each of them on a different board.
- Separate locations from their scenes or actions, placing the latter on different boards.
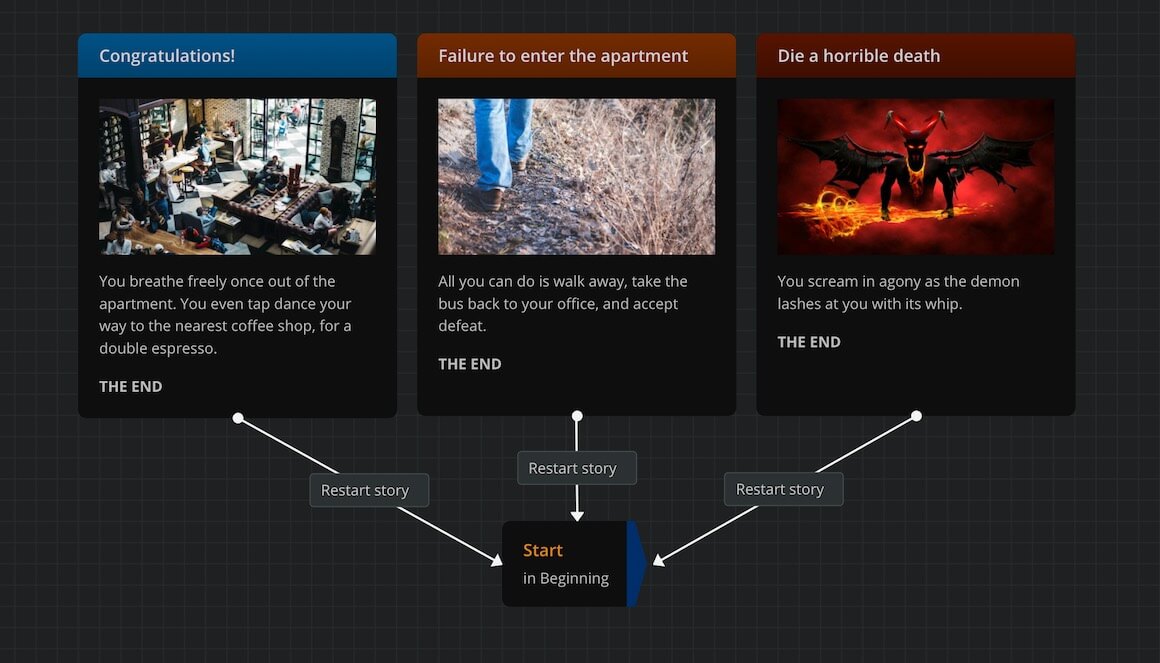
- Give the player the choice to restart, by linking your ending elements to the starting one. (Remember to reset your variables!)
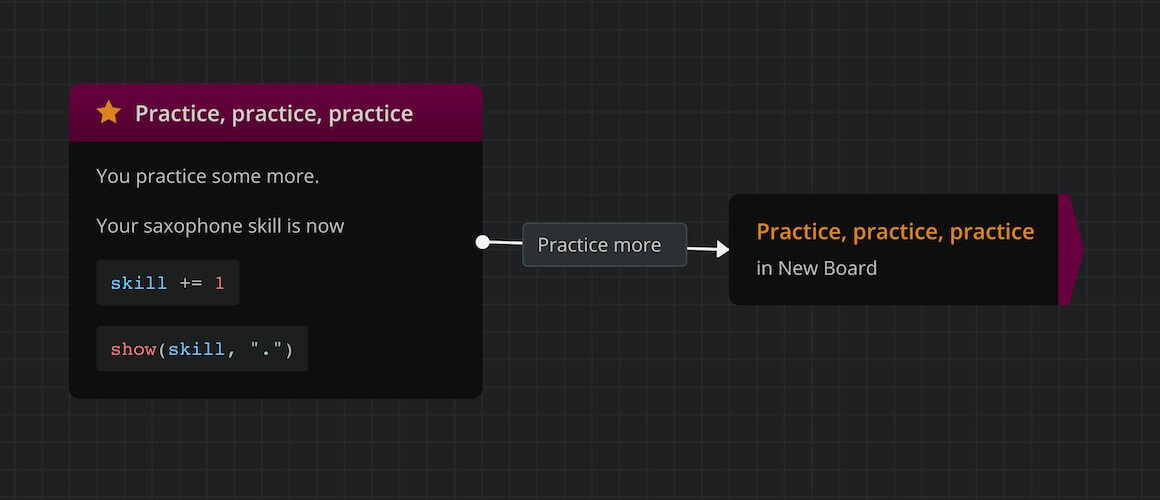
- Create a loop, where an element connects to itself e.g. incrementing a variable's value with each visit.
Creating jumpers
There are 3 ways to create a jumper:
- Right-click on an empty workspace area and select Create jumper.
Or:
- Drag and drop the New jumper icon
 , from the workspace's bottom left corner to an empty area of the board.
Or:
- Drop a connection end to an empty board area and select Create jumper here. (See connections.)
Both these ways create an empty jumper. For a jumper to work, you must assign it a target element.
Assigning a jumper target
There are 3 ways to assign a target element to a jumper:
-
Via Copy/Paste: this method is handy when you can easily access the target element in a board.
- In the board, click on the element to select it.
- Copy the element (either with Ctr/Cmd+C or right-click and Copy).
- Right-click your empty jumper (or an empty area of the board) and select Paste as jumper (or use the Ctr+Shift+V shortcut).
-
From the Boards list: use this method when you have located the target element in the left sidebar.
- Go to the Boards list on the left sidebar.
- Find the board where the target element is.
- Expand the board by clicking on the drop-down arrow next to its icon.
- Find the target element by its name.
- Drag and drop the element into the empty jumper (or an empty area of the board).
-
From the Search field: use this method if you have the target element in your search results.
- Search and find the desired element.
- From the search results, drag the element into an empty jumper (or an empty area of the board).
{primary} Shortcut: Dragging or "Pasting as jumper" to an empty area of the board creates a jumper and assigns its target at the same time.
Changing a jumper target
To change a jumper's target, drag and drop the new target element into the jumper, using any of above methods.
Deleting jumpers
To delete a jumper, either:
- Select it and press the Delete or Backspace key.
Or:
- Right click on it and select Delete from the menu.