Connections

- Overview
- Creating connections
- Moving connections
- Deleting connections
- Connection labels
- Arcscript in connection labels
- Customising connections
Overview
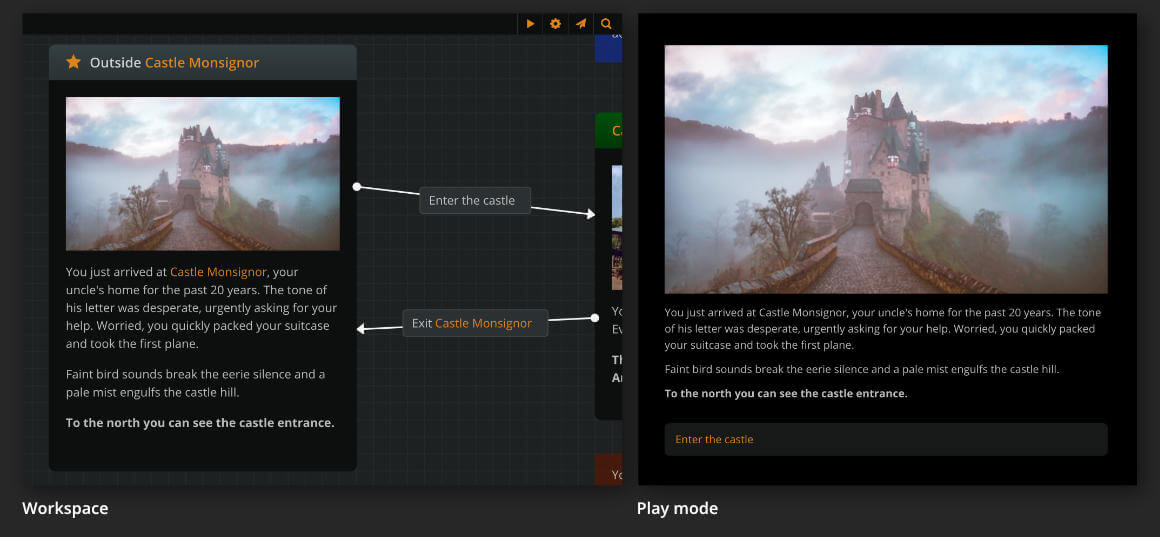
Connections are arrows that connect elements, branches, and jumpers together. They create a flow from the source item (element or branch) to the target (element, branch, or jumper).
Connections indicate possible directions of the flow in a board.
As target items, elements and branches can have unlimited in-coming connections.
As a source item, an element can have unlimited out-going connections. A branch, though, can have as many out-going connections as it has outputs.
{info} Notes and comments are not part of the project's flow, and do not take connections.
Creating connections
To create a connection:
- from an element: click and drag from the element's perimeter.
- from a branch: click and drag from one of the branch's outputs.
Then, drop the connection's end:
- onto an existing item, to attach the connection to that item. You can do this in two ways:
- drop the connection inside the target item (the whole target's perimeter gets an orange highlight): the connection will position itself automatically at the target's sides, so that its ends cover the shortest possible distance between source and target.
- drop the connection on a specific side of the target item (the side gets an orange highlight): the connection will fix itself to that side regardless of its source's position in the board.
- onto an empty area of the board, to create a new target item. From the appearing menu, choose:
- Create Element here or
- Create Jumper here or
- Create Branch here, to create the respective item.
Moving connections
You can change a connection's source or target by dragging and dropping its endpoints to a different element, branch, or jumper.
Deleting connections
To delete a connection:
- Select it and press the Delete or Backspace key.
Or:
- Right-click on it and choose Delete selection.
Or:
- Drag and drop any of its endpoints to an empty area of the board.
Connection labels
Connections can take labels. The connection labels may contain formatted text and arcscript.
On play mode, label text appears as the text of that connection's option button.

{info} If a connection does not have a label, its play mode option text will be the target element's title. If an element has only one connection without a label, a blinking arrow will appear at the end of the element's text content. Clicking anywhere in the content will advance the story to the next element.
Creating labels
To create a label:
- Right click the connection and select Create label.
or:
- Double click anywhere on the connection.
You can then start typing the label's text.
Labels allow rich text format (bold, italics, underline).
Once finished writing a label, press escape or tab.
Editing labels
To edit a label:
- Right click its connection and select Edit label.
or:
- Double click anywhere on its connection.
Deleting labels
To delete a label:
- Hover the mouse cursor over the label.
- Click on the 'x' icon that appears at its top right corner.
or:
- Delete all its text and press esc or tab.
Arcscript in connection labels
Just as with elements, we can add arcscript segments inside a connection label.
Why would we want arcscript inside labels?
We can use arcscript in a connection label to:
- create dynamic option text.
- assign a value to a variable upon selecting that connection and proceeding to its target element.
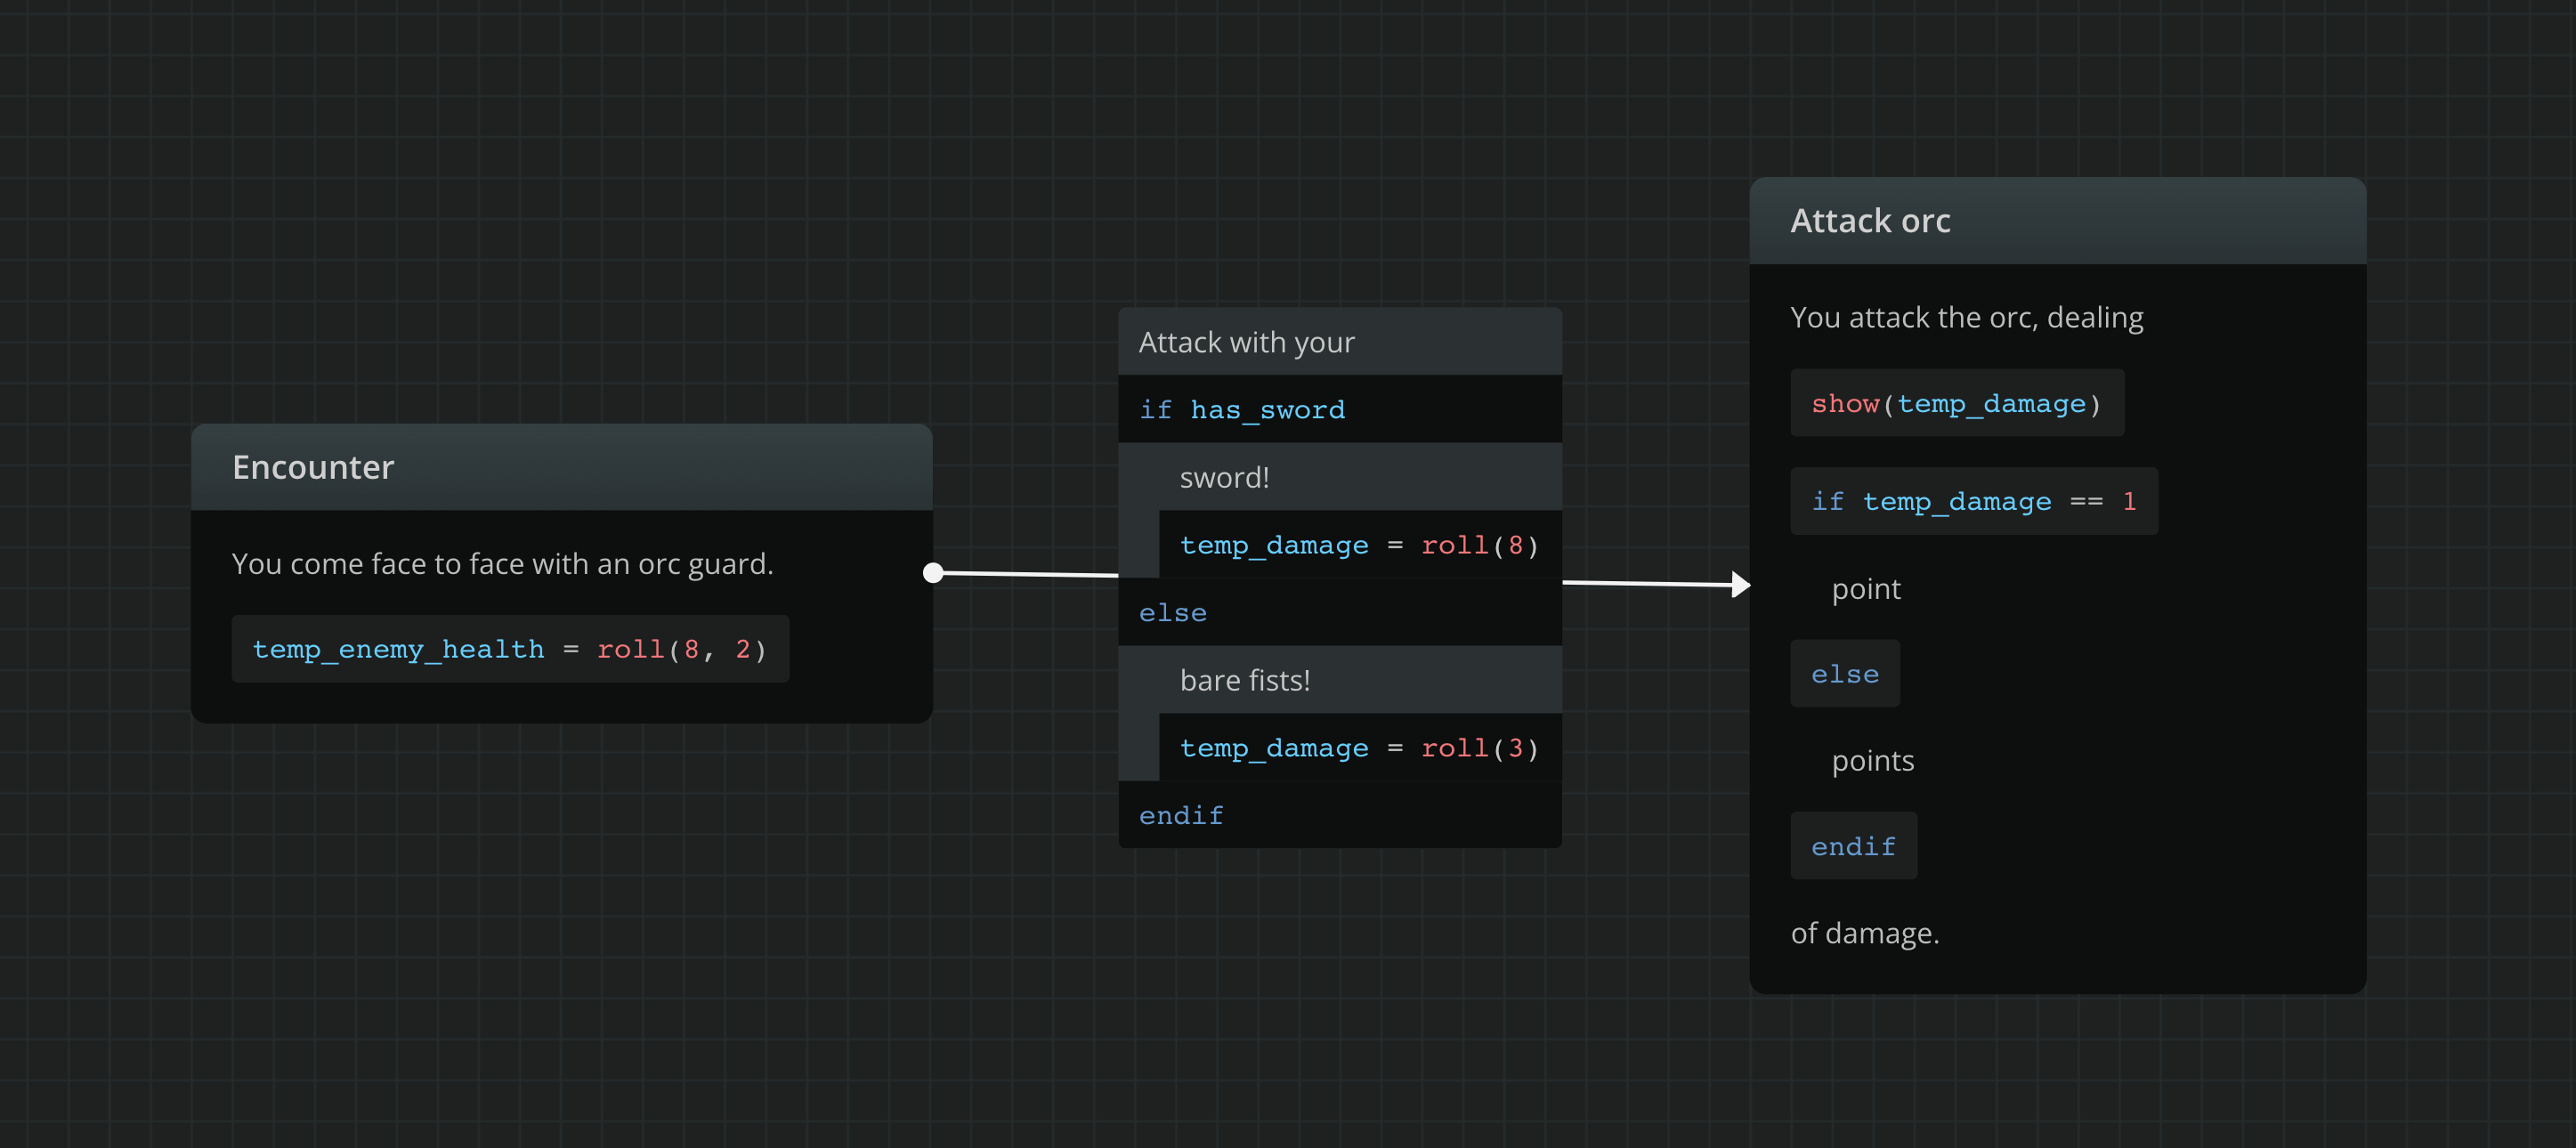
Here is an example that does both:

Adding arcscript to a label
To add arcscript code inside a connection label, click on the <> icon in the formatting toolbar while editing the label (or press Ctr/Cmd + Shift + C). To exit the block press Enter.\
Label arcscript evaluation and execution
On play mode, arcsript code inside a connection label gets evaluated before displaying the option button text. This allows for dynamic option text, as in the following label content:
Talk toif name_knownJefferson.elsethe moustached man.endif
The execution of label arcscript happens after the option gets selected and before the target element content gets rendered.
Customising connections
Changing theme
To change the colour theme of a connection, right-click on it and select one of the available colours from the menu.
Changing type
Connections have three types, Bezier (default), Straight and Flowchart.
To change a connection type, right-click on the connection and choose one of the available type icons.
{success} The most recently selected connection type becomes the default connection type for new connections.